Installation - Installation Instructions for SOTESHOP Store
Find out how to install the SOTESHOP online store. Check what you need before the installation process and how the installation process itself will look step by step. Thanks to this instruction you will easily start your adventure with our store.
Remember that you can set up a free Demo of the full version of the program: https://www.soteshop.com/online-store-demo
Before you start you need
- an FTP client program (e.g. FileZilla)
- a MySQL database: name, login, password and server address
- hosting on a server with PHP (standard hosting service) with the possibility of changing the root directory of the domain (the directory to which the domain points)
- about 10 minutes of time
It is not possible to install SOTESHOP software in a subdirectory of the domain, e.g.
https://example.com/shop- the shop must have its own domain or subdomain, e.g.https://shop.example.com
Check whether the server meets the technical requirements: technical requirements
Installation
- Download the installation package from the website https://www.soteshop.com/downloads

- Unpack the package on the server. There are 4 ways to do this:
- In the SSH console, go to the directory
/path/to/your/account/and enter the command
The system will create the directorytar -zxvpf soteshop-admin-latest.tar.gz/path/to/your/account/soteshop/ - In the server management panel, go to the File Manager and unpack the package
- On the server, create a file
unpack.phpand fill it with the code:<?php system("/bin/tar -zxvpf ./soteshop-admin-latest.tar.gz"); ?>unpack.phpandsoteshop-admin-latest.tar.gzare located and enter the addresshttps://shop.example.com/unpack.phpin the browser
The unpacking script will be launched - Ask the administrator of your server to unpack the installation package.
- In the SSH console, go to the directory
- Set your domain
https://shop.example.comto the directory/path/to/your/account/soteshop/web/and start the installationhttps://shop.example.com
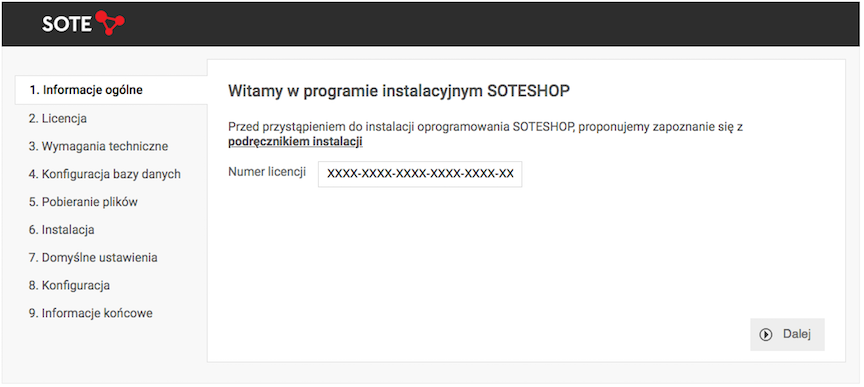
- Enter the License Number and press the Next button.
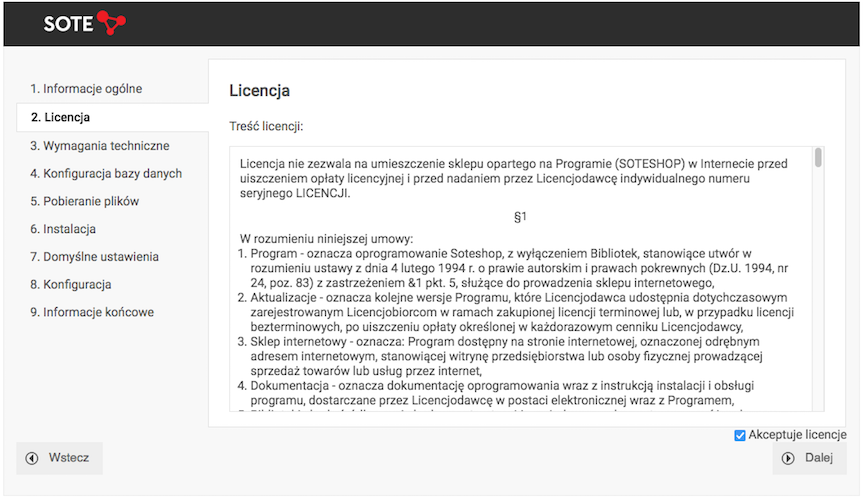
- To proceed to the next step Accept the license and press the Next button.
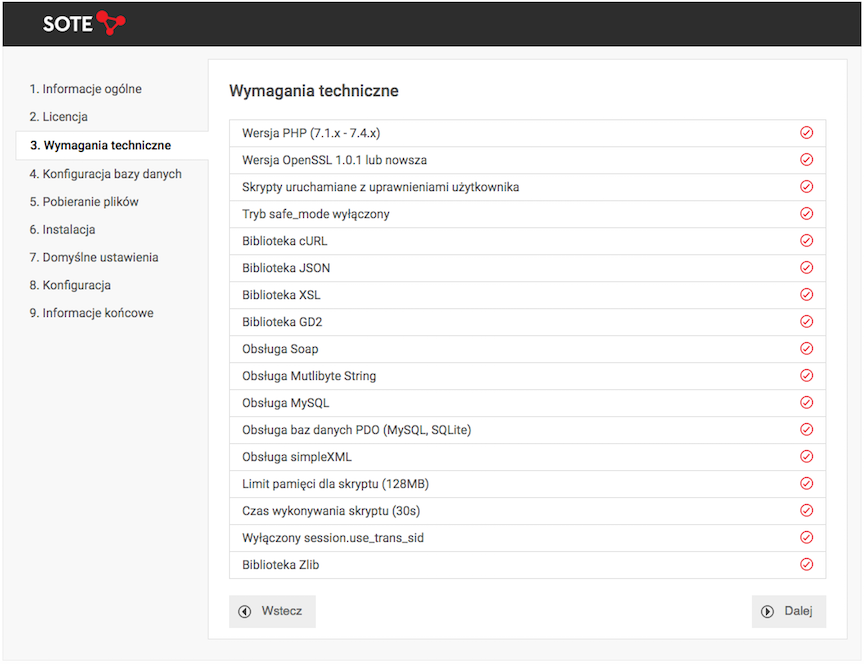
- The system checks if the server meets the technical requirements. If all requirements are met, press the Next button and proceed to the next step.
If any of the technical requirements are not met, contact the server administrator and ask them to reconfigure the server settings. Otherwise, the SOTESHOP store installation will not be possible.
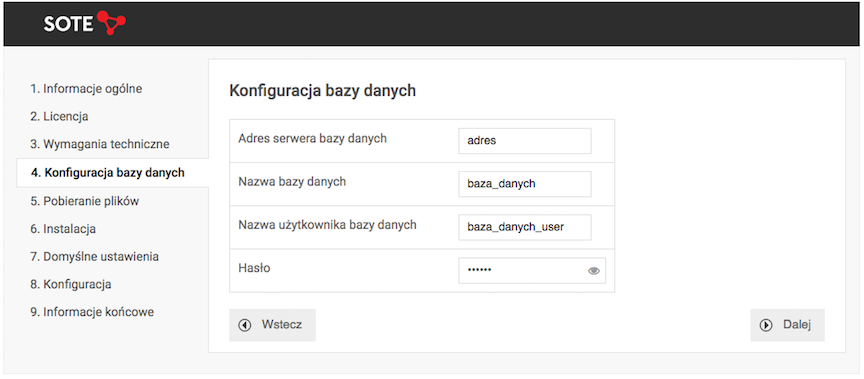
- Enter the access data for the clean database that will be the store's database.
Make sure that the database has the encoding utf8_unicode_ci.
Fill in the fields:
- Database server address,
- Database name,
- Database user name,
- Password (forbidden characters in the password): @, #, /, \).
After filling in the data correctly, press the Next button to proceed to downloading the files.
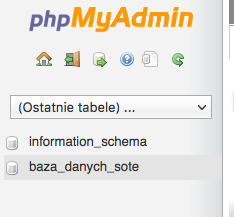
To change the encoding, log in to the phpMyAdmin panel and then:
- Select the database,
- Select the Operations tab,
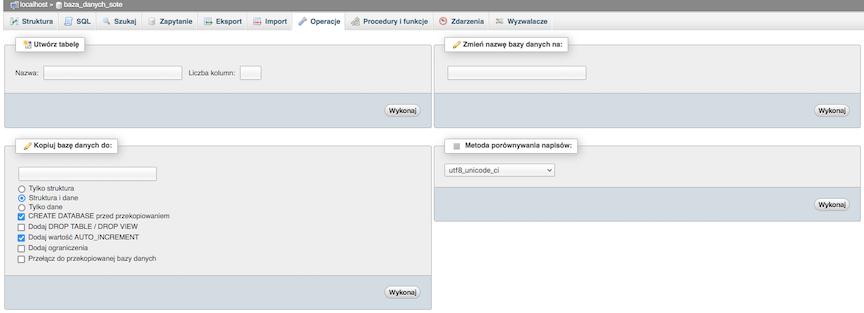
- Change the String comparison method to
utf8_unicode_ci, - Press the Go button.
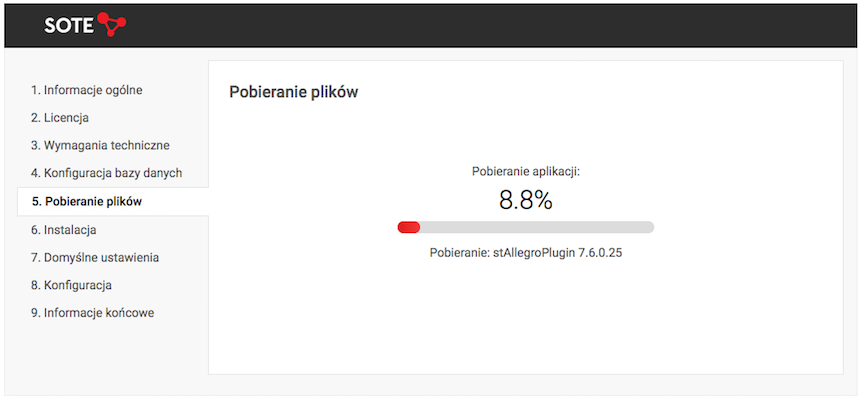
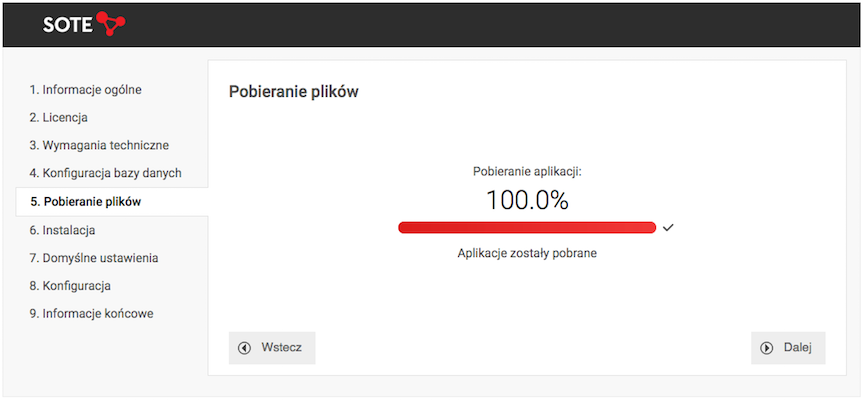
- Wait for all the shop packages to be downloaded.
- After downloading all the shop packages, press the Next button and proceed to the next step.
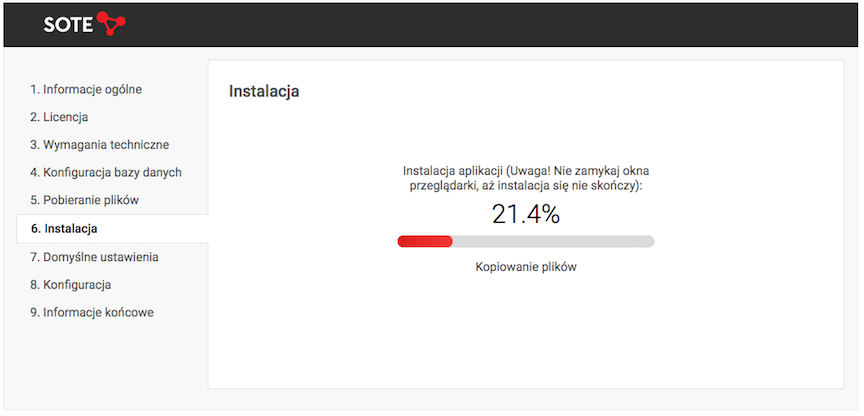
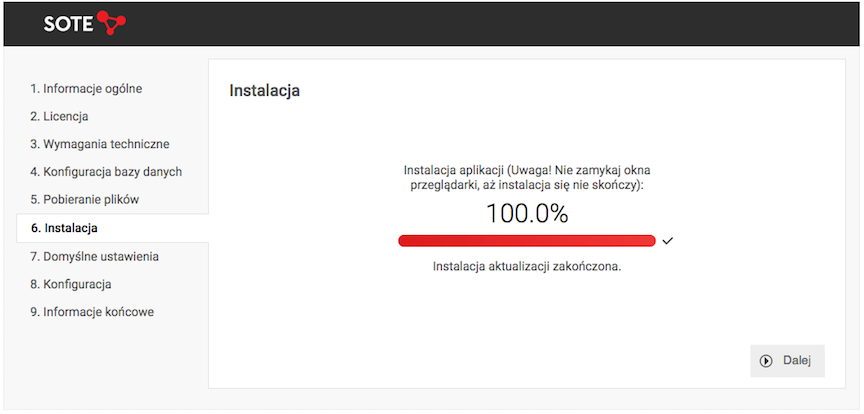
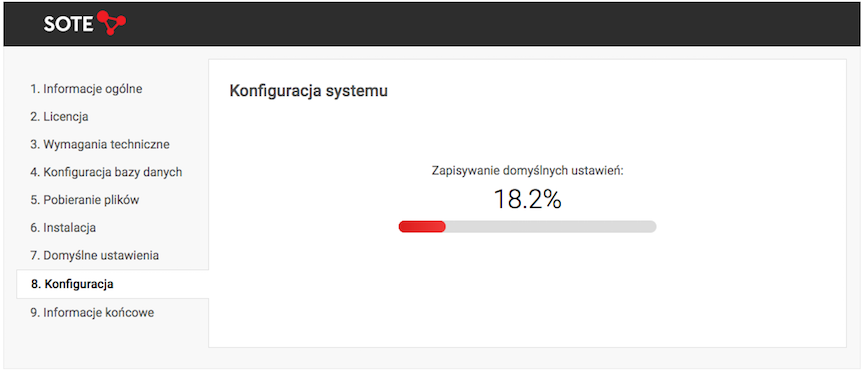
- The actual installation of the store is in progress.
- After installing the store, press the Next button and proceed to the next step.
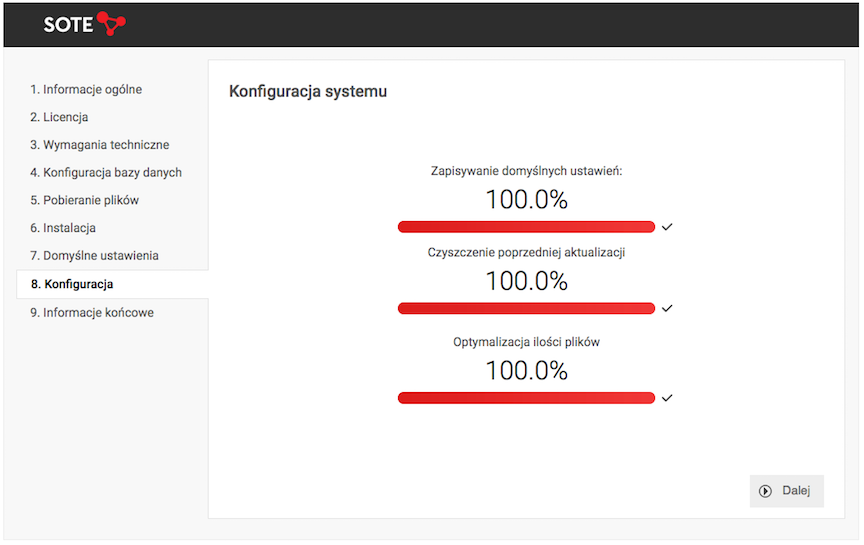
- Select the default graphic theme and store configuration.
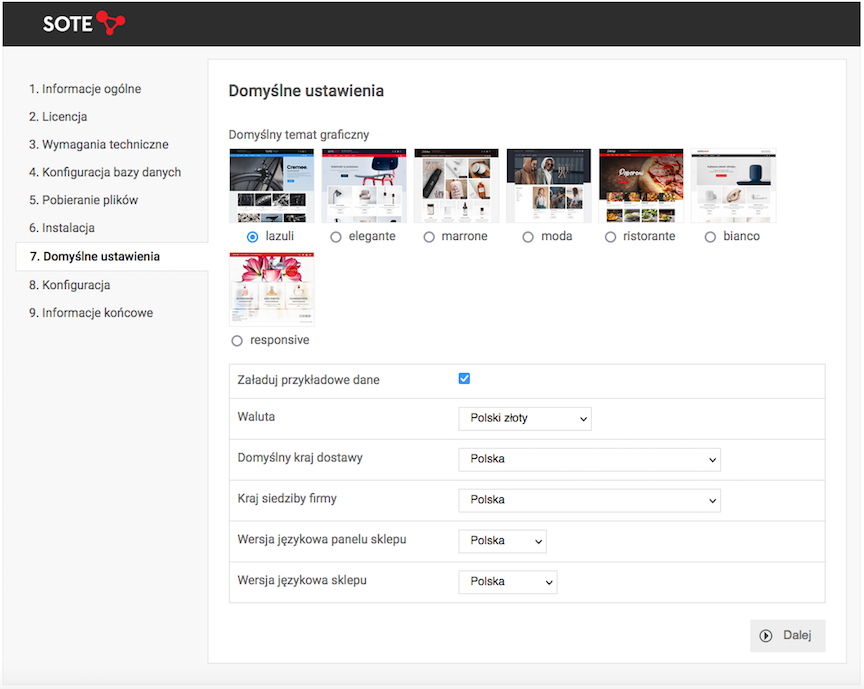
- Wait until the default settings are saved.
- After you finish configuring the store, press the Next button and go to the final information.
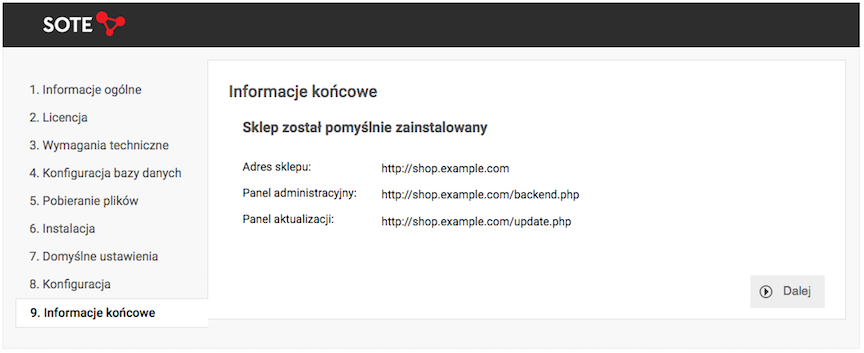
- In the final information you will find the URLs:
- of the store,
- of the Admin Panel,
- of the Store Update Panel.
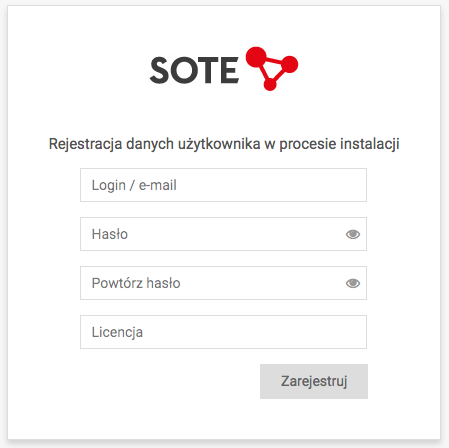
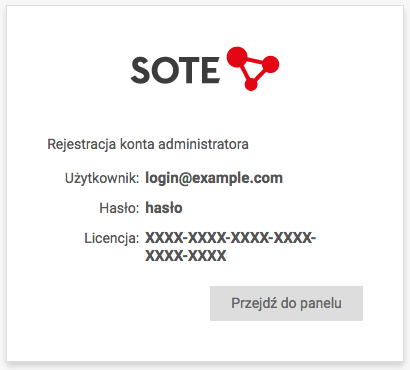
- Before the first launch of the panel, register the license and set the access data to the panel:
- login = your e-mail address,
- password.
- Check the entered data and go to the Admin Panel.
- Enter your login and password.
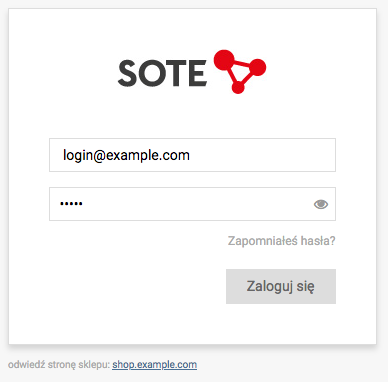
- Log in.