Mail Service - Send messages to your store's customers.
Configure your store's email box so that the store can send messages. Check how to add an SMTP server and email account. Find out how to change the texts in emails sent by the store and how to change the look of the email template.
Table of Contents
- Adding an SMTP server
- Adding a shop email account
- Changing the header and footer in emails
- Editing the email template
- Gmail configuration
- Office365 configuration
In the admin panel, select Applications → Mail Service ![]()
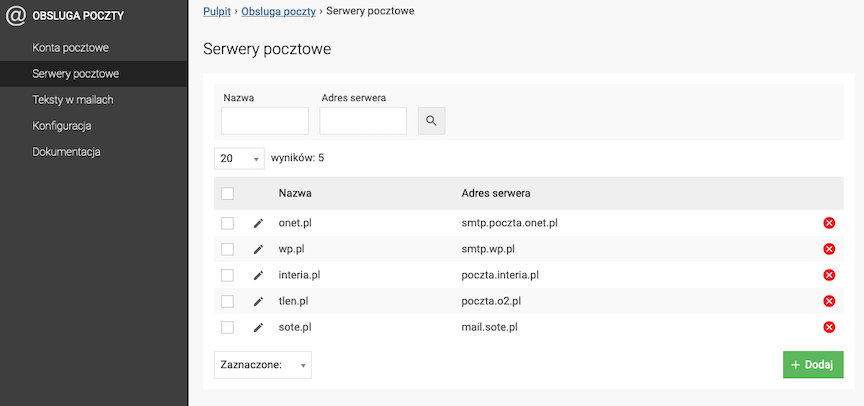
Adding a mail server (SMTP)
Select Mail Servers
- Press the Add button,
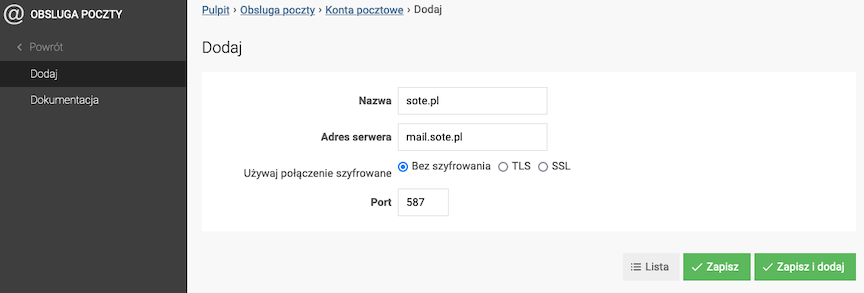
- Enter Name,
- Enter Server address (SMTP),
- Select Encryption method,
- Enter Port,
- Press the Save button.
Contact your server administrator to determine the correct configuration of your SMTP mail server.
If you are configuring a Gmail account - see how to correctly configure a Gmail account in the store
Adding a store mail account
Select Mail Accounts
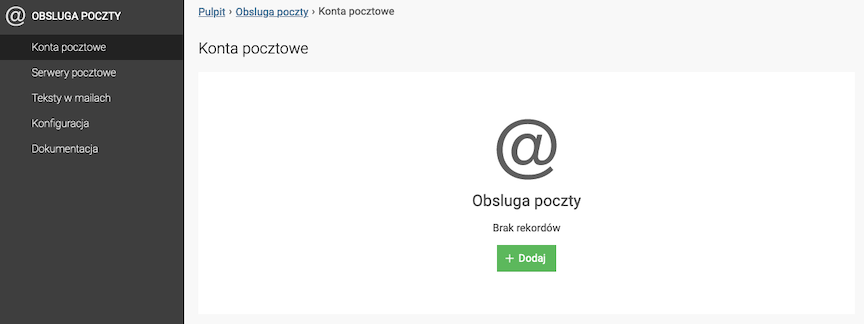
- Press the Add button,
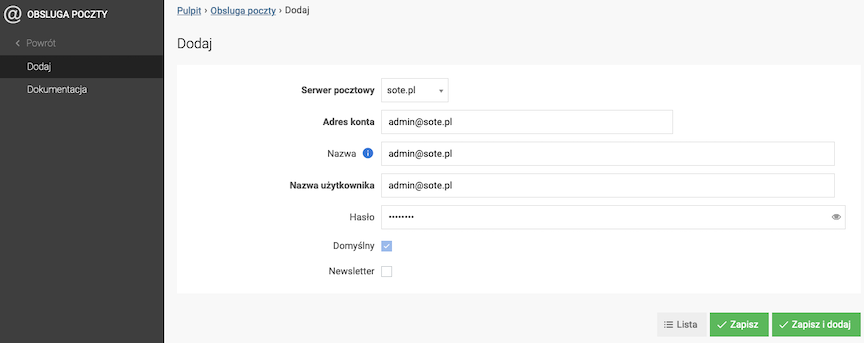
- Select Mail server,
- Enter Account address e-mail,
- Enter Name,
It will be displayed as a sender instead of an e-mail address.
- Enter Username,
Login to the configured e-mail account.
- Enter Password,
Password to the configured e-mail account.
- Check Default,
The account will be the main mail account of the store. Order processing, reviews, customers, etc.
- Check Newsletter,
Messages from this account will be sent to customers of the store.
- Press the Save button.
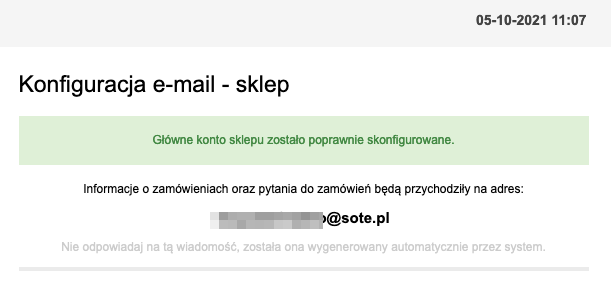
After successful configuration, the following message will appear:
Your changes have been saved - receive a verification email sent to the "e-mail" address
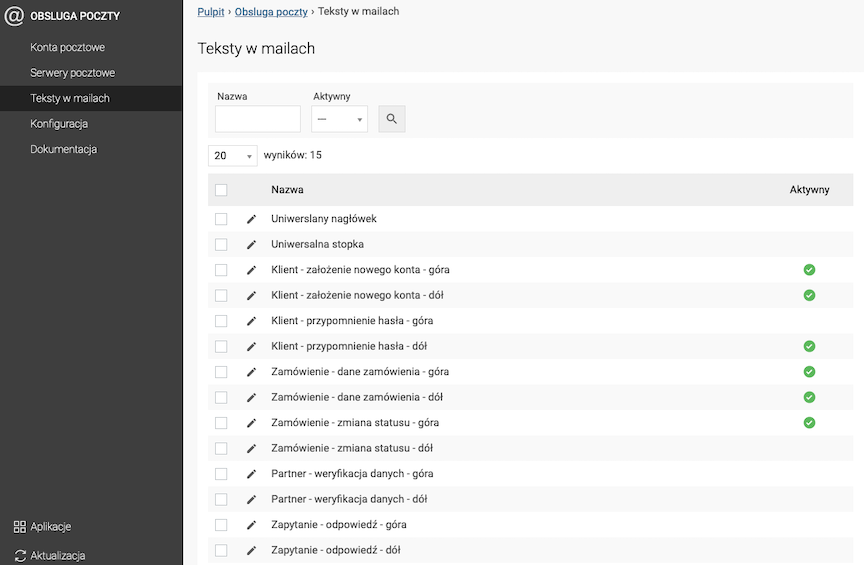
Changing the header and footer in e-mail messages
Select Texts in mails
- Edit the header/footer of the message,
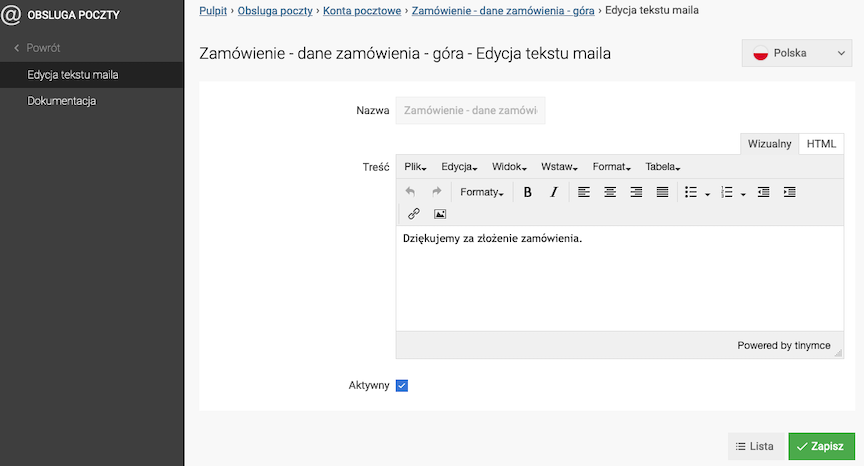
- Edit the Content,
- Check Active,
- Press the Save button.
Texts to edit
- Universal header,
- Universal footer,
- Client - setting up a new account - top,
- Client - setting up a new account - bottom,
- Client - password reminder - top,
- Client - password reminder - bottom,
- Order - order data - top,
- Order - order data - bottom,
- Order - status change - top,
- Order - status change - bottom,
- Partner - data verification - top,
- Partner - data verification - bottom,
- Query - response - top,
- Query - response - bottom,
- Client - data verification.
Editing the message template
Select Template
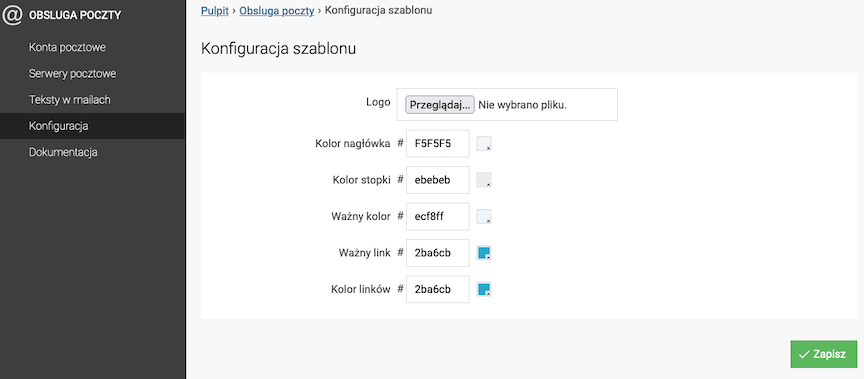
- Edit Logo,
- Edit Header Color,
- Edit Footer Color,
- Edit Important Color,
- Edit Important Link,
- Edit Link Color,
- Press the Save button.
Gmail Configuration
Starting from May 30th, 2022, Google has disabled the ability to send emails from external applications such as e-commerce stores, which means that currently it is not possible to configure Gmail in the SOTESHOP store. We recommend setting up a mailbox on the domain (on the store server). Instructions for SOTE hosting
Configuration of Office365 Mail Server
Go to Applications → Mail → Mail Servers
- Click the Add button,
- Complete the following data:
- Name: smtp.office365.com
- Server address: smtp.office365.com
- Use a secure connection: TLS
- Port: 587
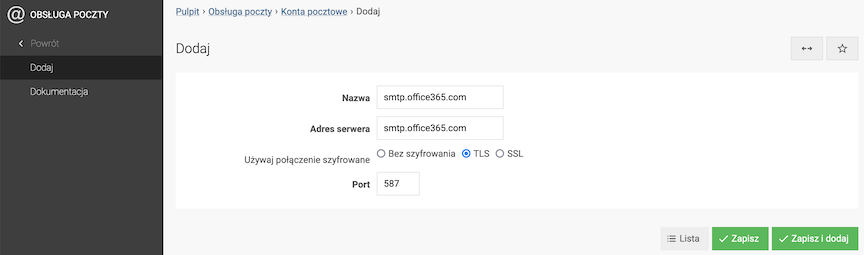
- Click the Save button.
In the case of the Office365 mail server, it may be necessary to enable basic SMTP authentication on the mailbox configured in the store.

            Official Microsoft documentation (English)