Warehouse - managing warehouse products and availability.
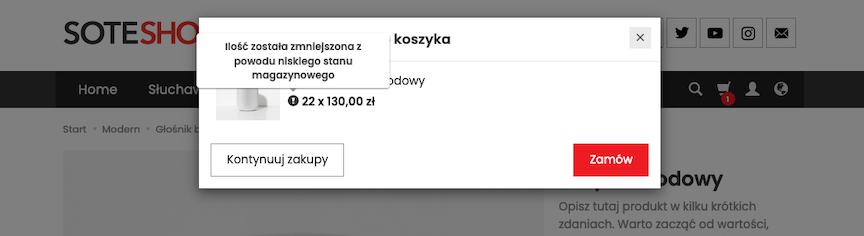
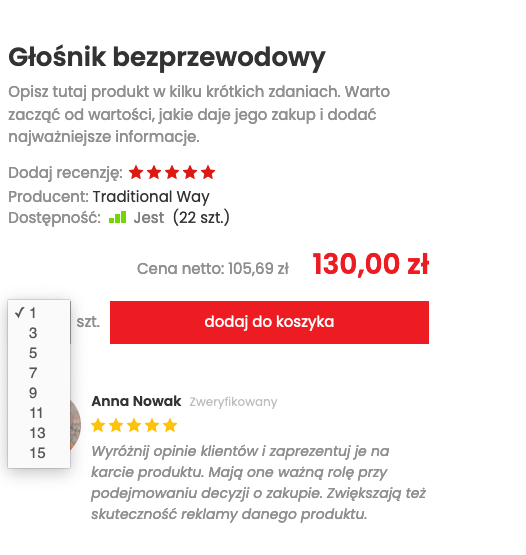
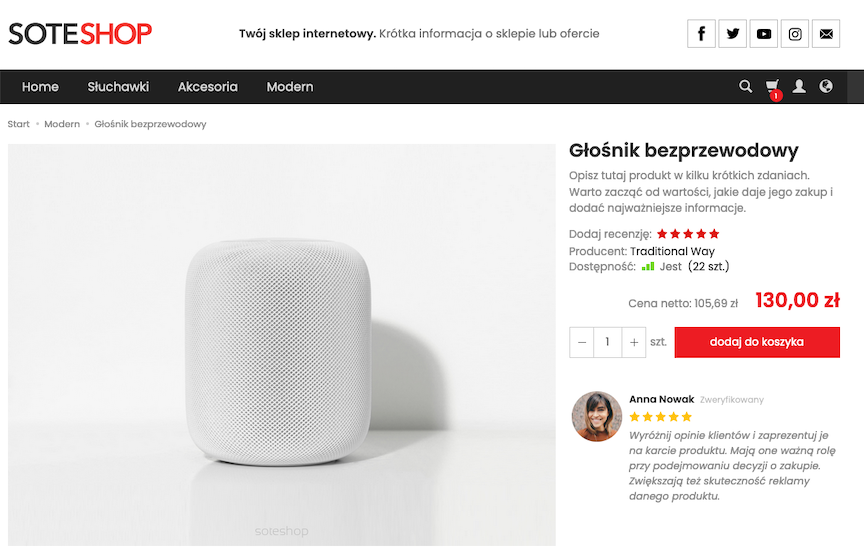
For each product, a stock status can be assigned which can be checked in the ordering process. The stock status can be updated after an order is placed or after a change in the appropriate status. We can present the stock status on the product card or display a name for the appropriate quantity range. In SOTESHOP, stock options are also available for different product options.
Table of Contents
- Managing Stock
- Managing Stock from Product Level
- Stock Configuration
- Enabling Display of Stock Level Information for a Product
In the admin panel, select Applications → Products ![]() → Warehouse
→ Warehouse
Managing the Warehouse
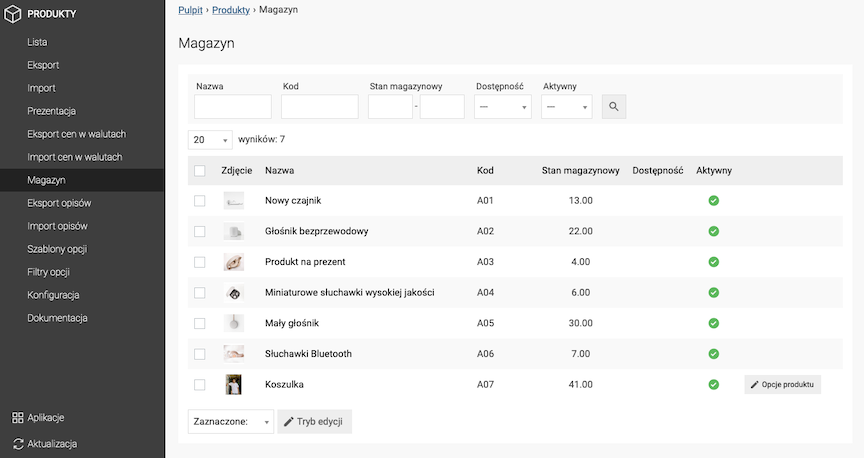
Editing the Warehouse State of a Product Without Options
- Press the Edit mode button,
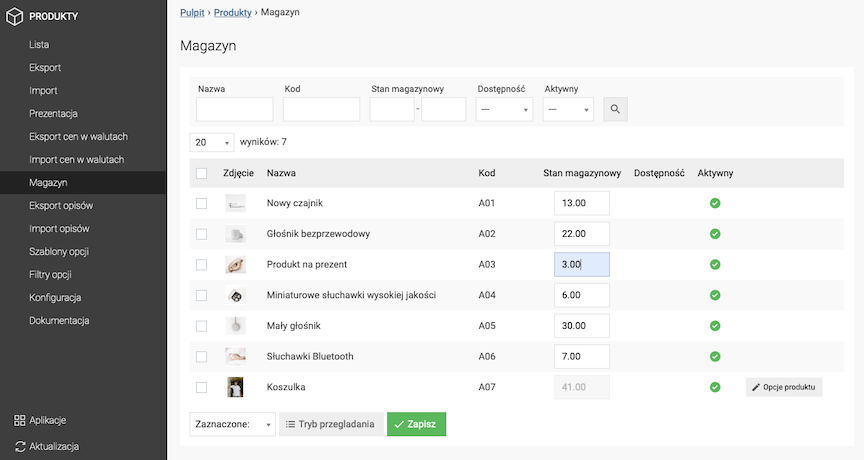
- Enter the Warehouse State,
- Press the Save button.
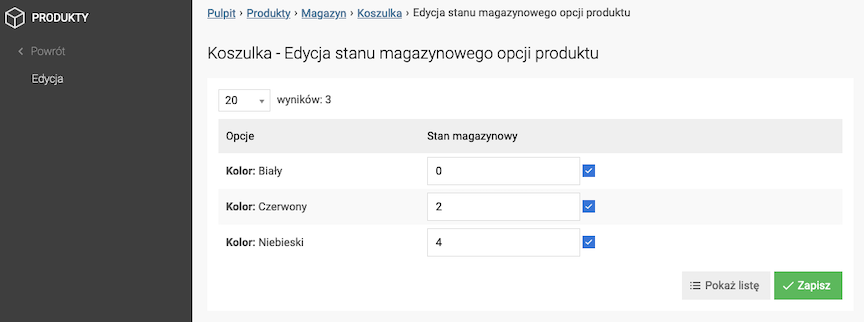
Editing the Warehouse State of a Product With Options
- Press the Option Warehouse State button,
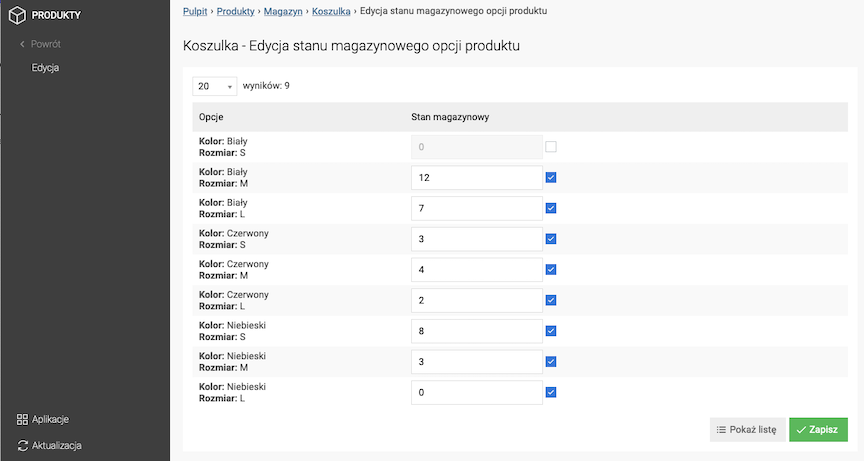
- Enter the Warehouse State of the option,
- Check Enabled,
- Press the Save button.
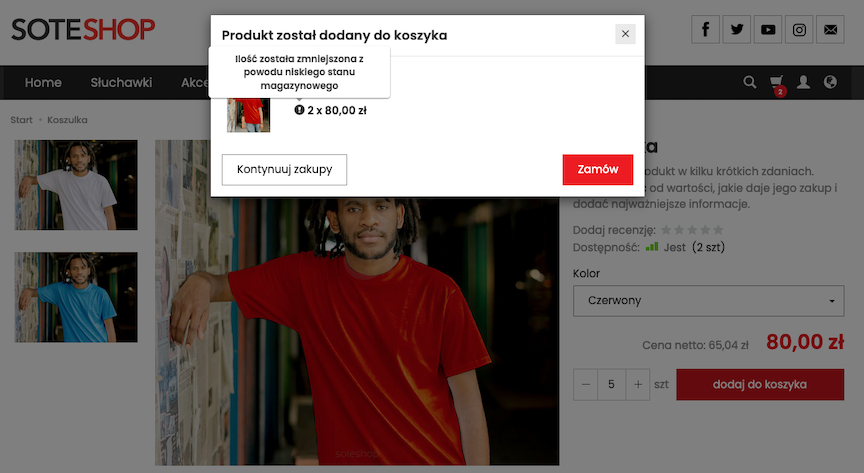
The warehouse state of the option will be checked when placing an order.
Managing the Warehouse from the Product Level
Editing a Product Warehouse Without Options
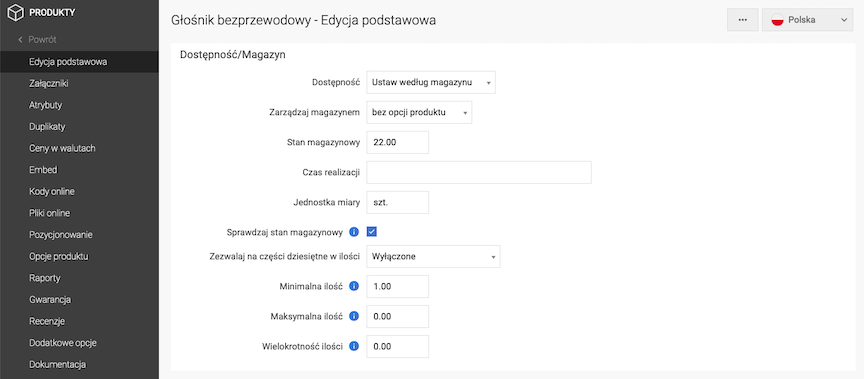
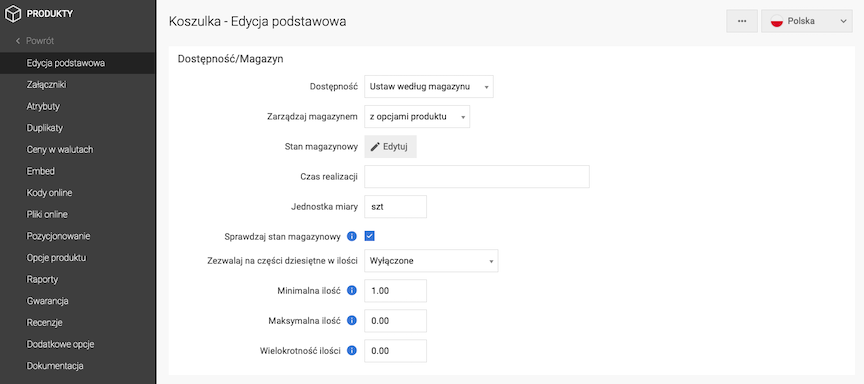
- Select Availability,
- Select Manage Warehouse:
- with product options,
- without product options,
- Enter Stock Level,
- Enter Delivery Time,
- Enter Unit of Measure,
- Check Check Stock Level,
- Check Allow Decimal Quantities,
- Enter Minimum Quantity,
- Enter Maximum Quantity,
- Enter Quantity Multiplier,
- Press the Save button.
See the product availability settings documentation.
Minimum quantity of product that the customer must order.
Maximum quantity of product that the customer can order in one order (0 means none).
See the basket documentation.
See the product documentation.
Editing product stock with options
- Select Availability,
- Select Manage stock:
- with product options,
- without product options,
- Press the Edit stock link,
- Enter the Stock,
- Check Enabled, The inventory status of the options will be checked when placing an order.
- Press the Save button,
- Enter Delivery time,
- Enter Unit of measure,
- Check Check inventory status,
- Check Allow decimal quantities,
- Enter Minimum quantity,
- Enter Maximum quantity, Maximum quantity of the product that the customer can order in one order (0 means none). See the cart documentation.
- Enter Quantity multiple,
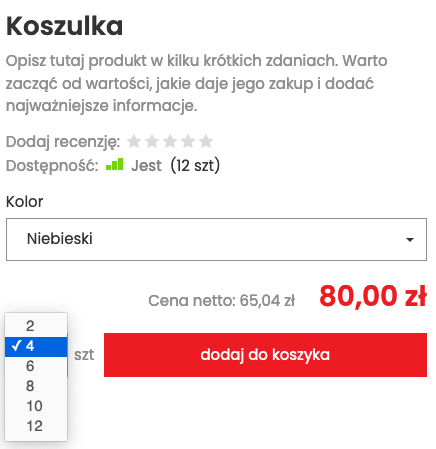
If given, it displays a selection list of the product quantity with the given multiple instead of a text field.
- Press the Save button.
See the setting product availability documentation.
Minimum quantity of the product that the customer must order.
See the product options documentation.
Editing inventory levels from the product option level
- Select Product options,
Edit the stock states of product options from the product options level.
- Choose the Value of the option,
- Enter the Stock state,
- Check Enabled,
The stock state of the option will be checked when placing an order.
- Press the Save button,
See the product options documentation.
Stock Configuration
In the admin panel, select Applications → Products ![]() → Configuration
→ Configuration
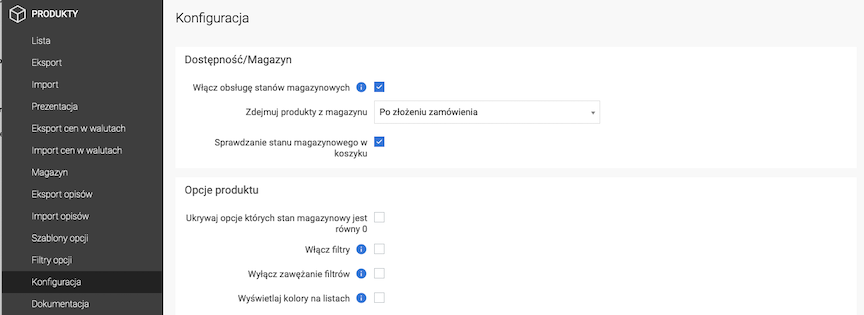
- Check Enable stock management,
- Select Remove products from stock:
- After placing an order,
- After changing the order status to fulfilled,
- Check Check stock in the cart,
- Press the Save button.
Enables automatic stock management.
Enabling the display of product stock information
In the admin panel, select Applications → Products ![]() → Presentation
→ Presentation
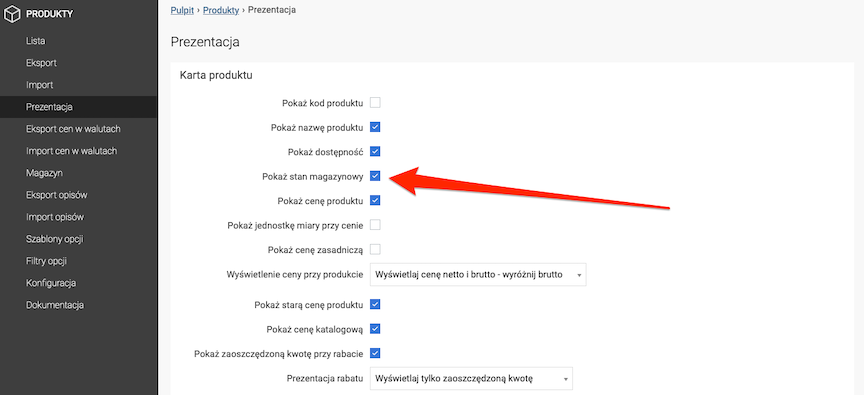
- Check Show stock level (This option is available for Product Card, Full List and Product Groups - Homepage sections),
- Press Save button.